SmartHOME -- Saving Makes Sense

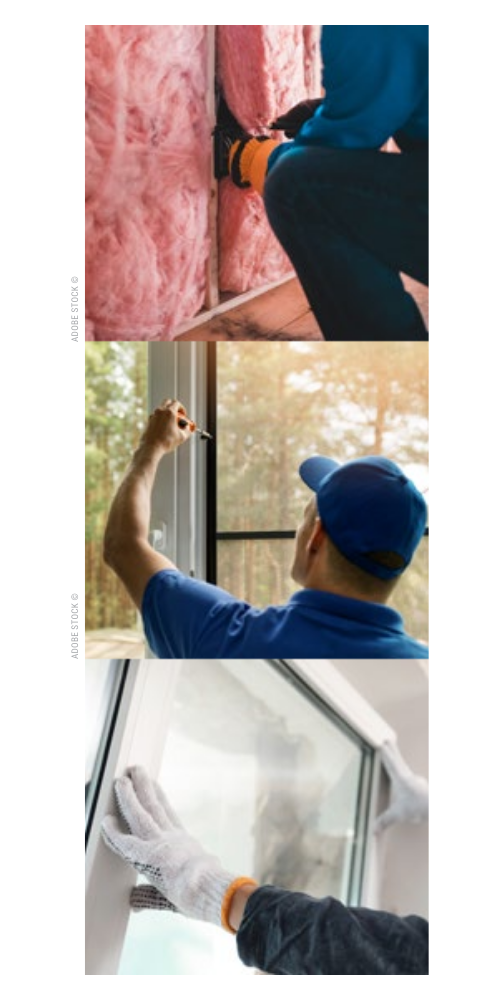
Insulation:
For the homeowner, this may be an easier upgrade. Whether you decide to install rolls of
insulation or use blown-in insulation, your local home improvement store should have all the
supplies to get you started. In most cases, you should be able to rent the blower along with
purchasing the insulation materials.
The key to effective insulation is its heat resistance factor—keeping warmth in during winter and
out during summer. To qualify for SmartHOME rebates, the preexisting insulation must be R-20
or less. BTU can help you evaluate your current R-value if you are DIYing. This project can be
completed over a weekend and offers significant energy savings.
Solar Screens:
Installing solar screens is a more advanced DIY project, but if you have some experience, you
may be able to tackle this upgrade yourself. Solar screens are available at most local home
improvement stores, but you’ll need to measure and build the frames yourself since they are
designed to be removable, typically attached with magnets or Velcro, allowing you to take
advantage of solar heat gain in the winter. If you're not particularly handy, many contractors
offer solar screen installation at an affordable price. Solar screens are the most cost-effective
SmartHOME option of the three if you are looking to improve your home’s efficiency.
EnergyStar™ Windows:
This project is typically best left to professionals, as removing existing single-pane windows can
easily damage window sills. While not impossible as a DIY project, experience and proper training
are highly recommended. This project requires the largest investment of any of the qualifying
upgrades. However, the long-term energy savings and efficiency gained through the SmartHome
program make it a worthwhile investment.